Newsletter
How to register X300 Classic G3?
In our previous article, we outlined the features of OBDSTAR X300 Classic G3 and highlighted its distinctions from the X300 DP Plus (click here to review). Today, we are excited to provide you with a comprehensive guide on registering, updating, and transferring ES File.
Go to [Personal Center] in the DP menu where is used for checking personal account information, token information, etc.
The login interface will be shown below.
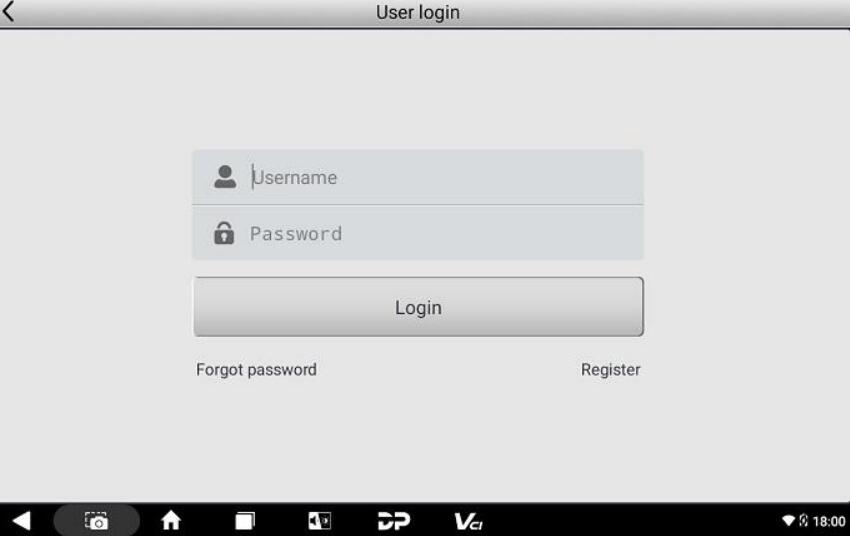
- If you are a new user, select the [Register] button in the lower right corner and proceed to the user registration interface.
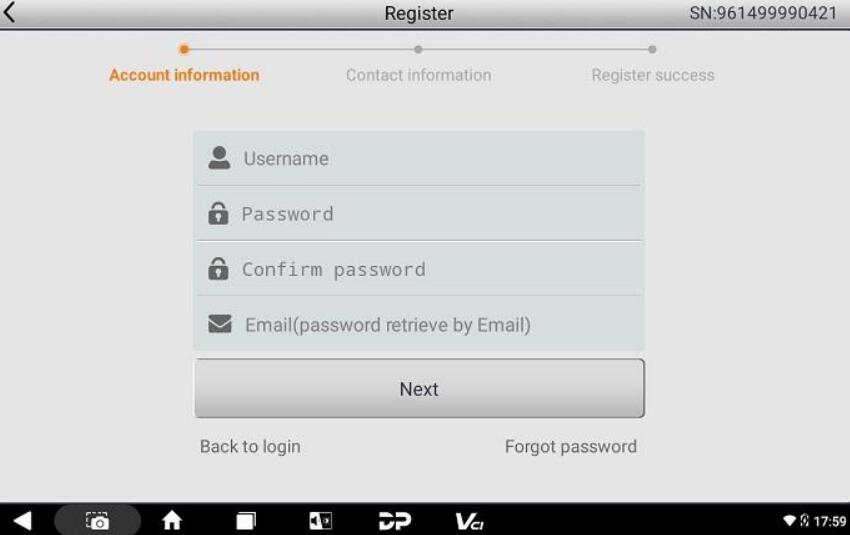
Fill in the account information (user name+ password+ email address), and contact information (contacts+ cellphone+ company name+ address+ post code)
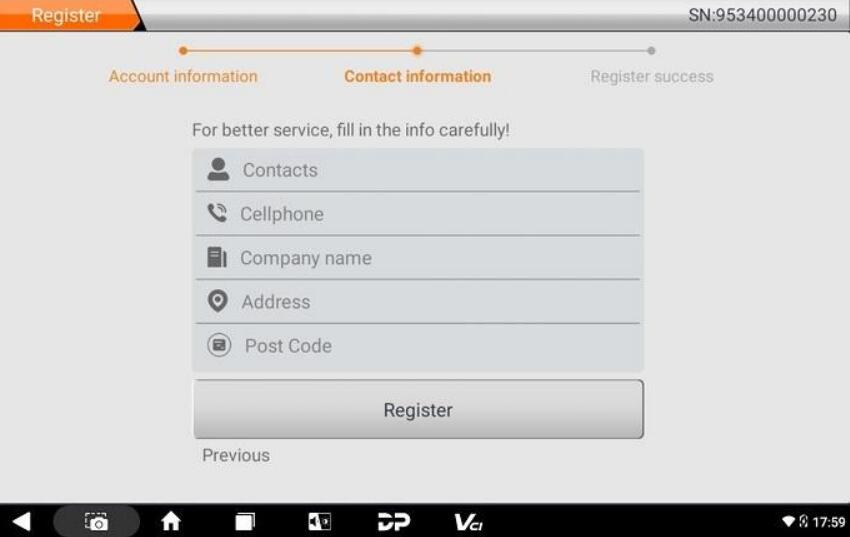
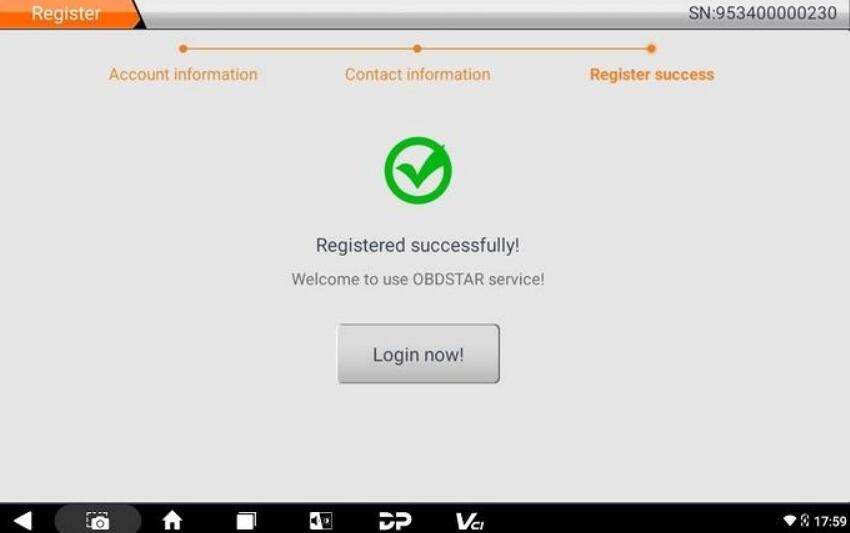
It will prompt you "Registered successfully!" once you complete the above operation required.
Tap [Login now!]
- If you have already registered as a member, directly fill in your account number and password, and then tap [Login].
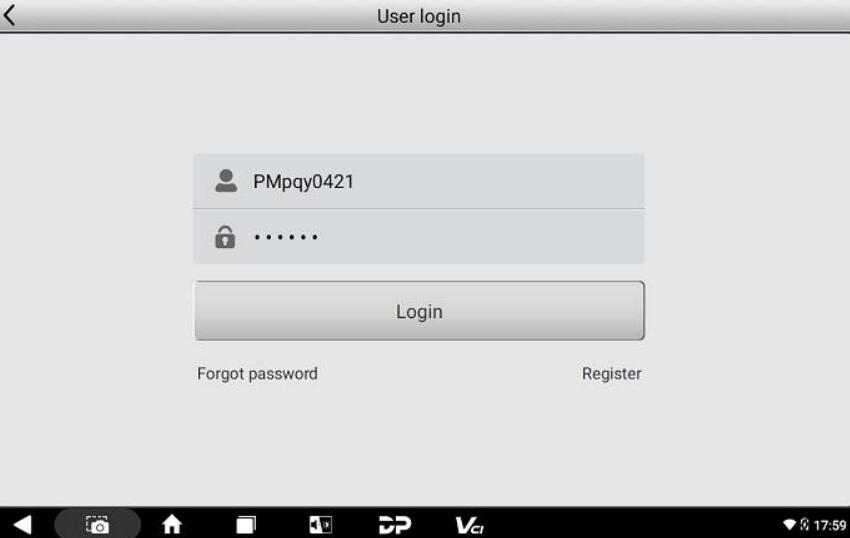
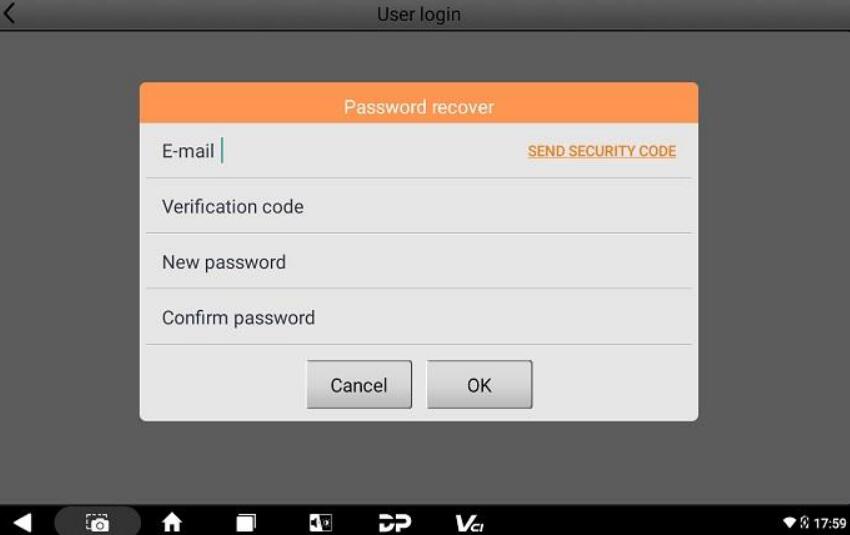
- If you forget your password, please select [Forgot password] and fill in the necessary information in the Password Recover popup window, then you will be able to log in with your new password.