How to update OBDSTAR X300 Classic G3?
How to transfer files with OBDSTAR X300 Classic G3?
X300 Classic G3 key programmer has [ES File Explorer] application that you can manage the on-device files and send files to a computer via a U drive.
1) Insert the USB flash drive into the USB port of the G3 scanner.
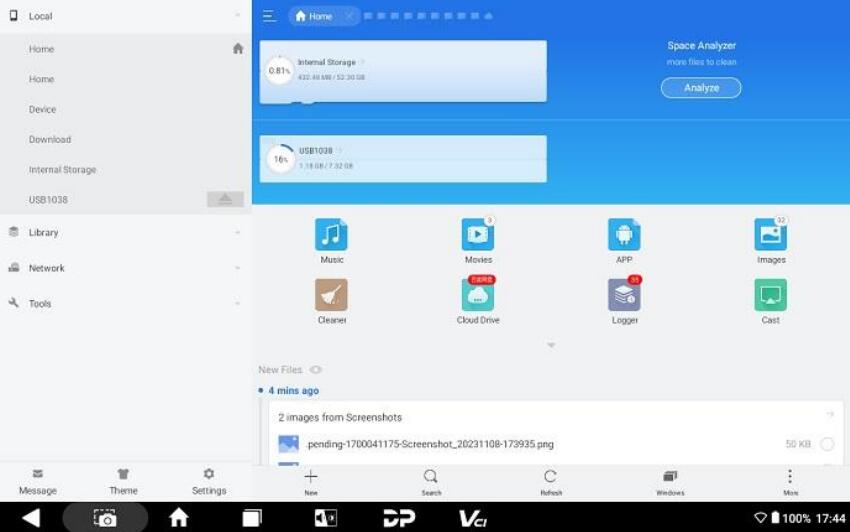
2) Expand the hidden menu at the bottom of the desktop, and select [ES File Explorer] to open it. In the left side menu, select [Local] > [Home]. The block under the Internal Storage block is for the USB storage. See below:
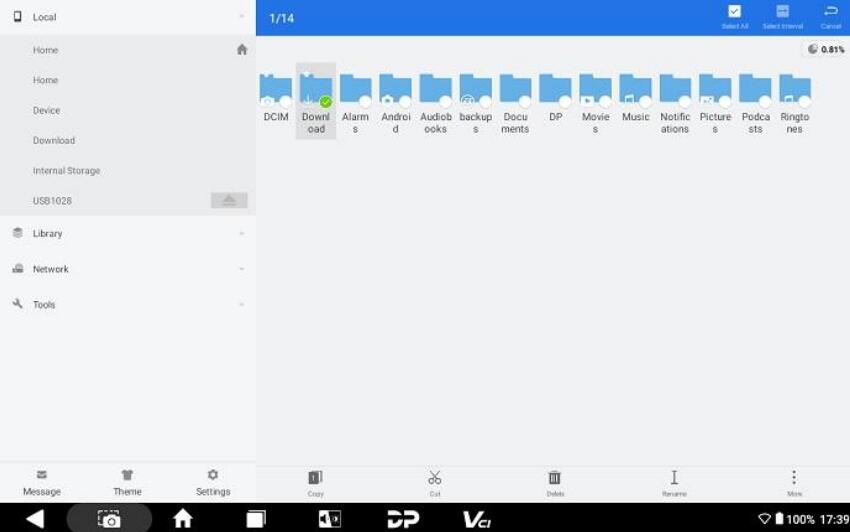
3) Open [Internal Storage], select any folder (or open the folder to select files) and hold. A blank circle will appear under each file, and function buttons such as copy, cut, delete, and rename will appear on the bottom right. Select the folder (or file) you would like to transfer, the circle under the selected folder will be marked with a tick and turn green, then tap [Copy].
4) Return the Home tab, and select the storage for the USB you've inserted.
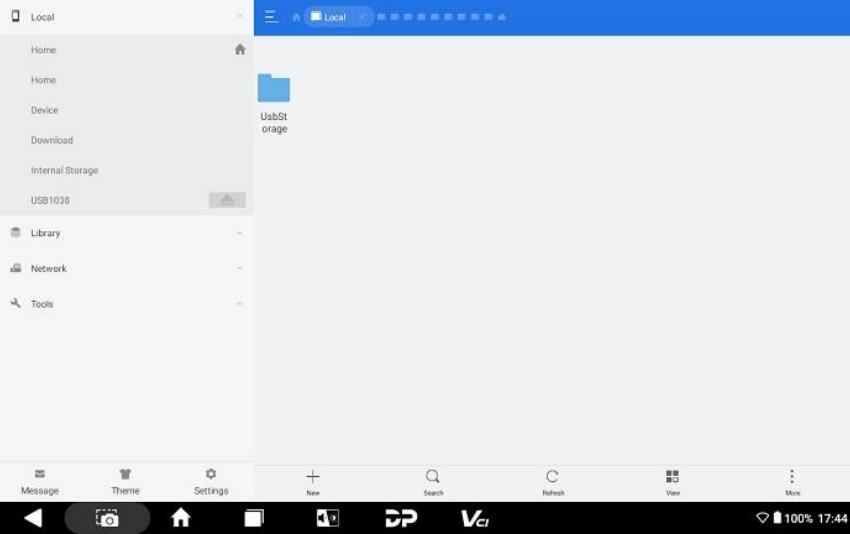
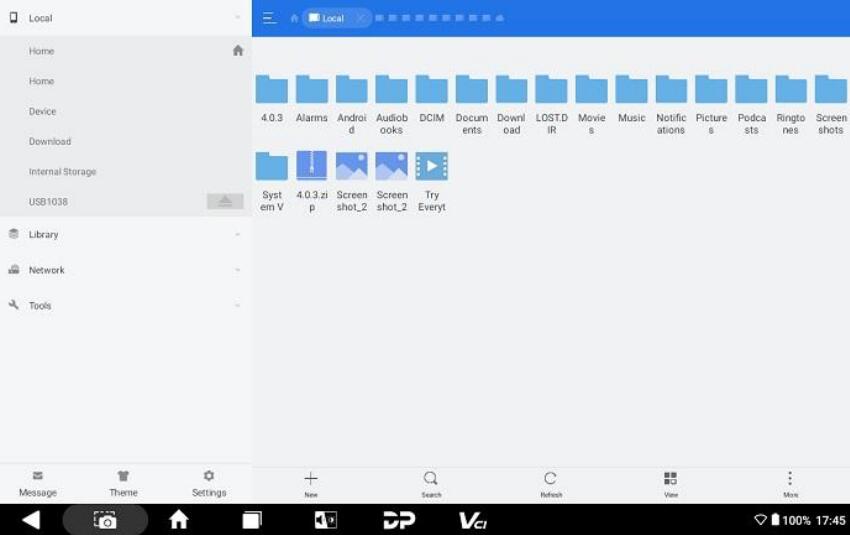
5) Open the [USB Storage] folder and all folders in your USB drive will be displayed. Paste the copied folder (or file) to the desired location.
6) After everything is done, just pull out the USB flash drive.
For more instructions about OBDSTAR X300 Classic G3 Key Programmer, please download OBDSTAR X300 G3 User Manual